Contact Us

Please feel free to get in touch to ask a question, schedule an appointment or give us your feedback. We look forward to hearing from you. 

17 Divinity St
Bristol, CT, 06010
United States

8605895155

Since 1975, O'Donnell Bros has been providing greater Bristol and Central Connecticut with residential and commercial remodeling solutions. We specialize in roofing, siding, windows, doors, gutters, downspouts and so much more. We look forward to helping you with all your remodeling needs. 

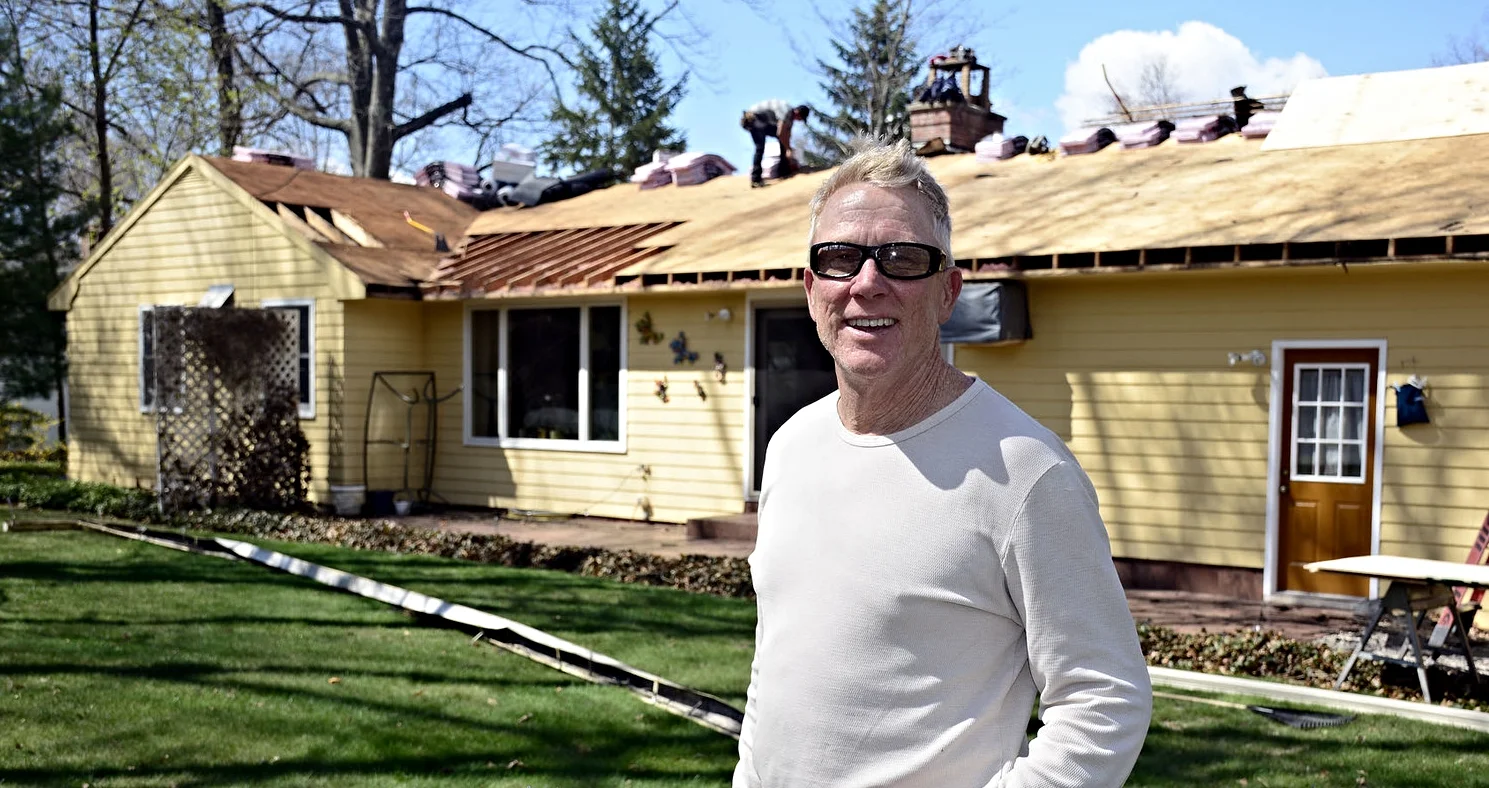
HomeImprovement-PT-050114_9032 (1).jpg

Articles

O'Donnell Bros President, Bob O'Donnell, is a regular contributor to The Bristol Press. Read his home improvement articles here.


Filtering by Category: Roofs

Protect Your Home From Future Wind Storms with These Six Tips

Chelsea O'Donnell

This week’s wild wind was not to be taken lightly. I’ve had calls from all over the area to fix roofs, repair gutters, and replace siding that was damaged. While high winds aren’t very common, they can cause major headaches for homeowners, especially those who have to go through the process of making an insurance claim. With that being said, here are my six tips for “weathering the storm” that inevitably comes with unanticipated damage to your home.

Check your policy now

Every insurance policy is unique and it’s really important to review your coverage annually to make sure you’re up to date with the inclusions and exclusions. Most homeowner's policies cover damage due to wind but other storm-related issues such as flooding are usually not part of the deal. The State of Connecticut Insurance Department has a basic homeowner’s storm damage FAQ on their website, but because all policies and insurers are different, it’s worth talking to your agent.

Be very careful

Damage can’t always be seen, so it’s important to exercise extreme caution. Inspect the powerlines around your home as well as the trees. Even if nothing is down now, a broken limb could fall later, so it’s better to be diligent. Also, be sure to watch for leaks in the days and weeks after bad weather. High winds often rip off shingles, leaving roofs exposed to rain and snow.

Make use of your camera

The most common types of storm-related damage are to roofs, windows, siding, and windows. As you inspect your home, take photos or everything and don’t move anything unless it's necessary. Video is also a great way to document any potential damage. The more evidence that you have, the better off you’ll be when you go to make an insurance claim.

Call your insurance company

Once you’ve assessed any potential damage, you can get in touch with your insurance provider. Do this as soon as possible and be ready with all the documentation that you’ve collected. Your insurer will be able to assess the damage to your home and help you understand what's covered by your policy. They’ll also connect you to a claims agent if required.

Make repairs

After you’ve reported any damage, it’s time to clean up. Leaving exposed areas uncovered and not fixing leaks will create much bigger problems, so be sure to clear and patch any problem spots. Do not ever try to touch downed power lines or electrical equipment - report those to your electricity provider or even your town’s fire department.

Hire a good, local contractor

Believe it or not, there are some hacks out there who chase storm damage, taking advantage of homeowners who need a fast fix. Don’t fall for these traps - look for someone local and reputable who has a good track record and is fully licensed and insured. The Better Business Bureau is a great place to get started.

Bob O’Donnell is the owner of O’Donnell Bros. Inc., a Bristol-based home improvement company established in 1975. Email your questions to info@odonnellbros.com with the subject line “Ask the Pro.” All questions may be considered for publication. To contact Bob for your remodeling needs, call O’Donnell Bros. Inc. at (860) 589-5155 or visit http://www.odonnellbros.com. Advice is for guidance only.
Waterproof Your Chimney Now to Avoid Costly Repairs Later

Chelsea O'Donnell

You may have never thought about exterior chimney maintenance unless you’ve had a problem, but because chimneys come up above the roof line, they are more susceptible to harsh weather than any other part of your home. That’s why spending a little time and money to waterproof and protect the area can save you thousands of dollars and plenty of potential headaches down the road.

If you plan on waterproofing your chimney, the first thing you’ll have to do is measure the surface area. Take care to measure all sides and add the measurements together to find the total surface area. This will help you to determine how much material you will need.

Now, it’s time to clean. Your chimney will most certainly have mold, dirt, rust, and stains on it, and you’ll want to remove them before starting the waterproofing process. I like Chimney RX Safer Brick and Masonry Cleaner which you can use instead of muriatic acid for the same cleaning power without the harsh fumes or risk of burns. Applying the solution is easy: just use one part cleaner with four parts water and apply to the area with a pump sprayer. You can then either scrub the surface or use a power washer to remove the debris. Let everything dry for at least 24 hours before moving on to the next step.

Next, you can start to prepare the area for any potential repair work. You don't want to damage your roof and shingles when waterproofing your chimney, so use a canvas drop cloth to cover the area as plastic can get very slippery. Make sure to cover over any windows or skylights that are in reach as well. Once waterproofing overspray has been applied, it will be incredibly difficult to remove.

If you have minor cracks in the chimney, now is the time to fill them. Chimney RX makes a Masonry Crack and Joint Sealant that works really well on small cracks up to one-eighth of an inch. It simply paints on and then dries a milky white color. However, if you have larger cracks or if you need any part of the chimney rebuilt or tuckpointed, I highly suggest calling a professional to manage the repair.

Once minor work has been completed, you’re ready to apply the waterproofing agent. Again, ChimneyRX makes a great product for the job. No matter what you use, be careful. Most people don’t realize that there is a difference between water repellent and sealant. A sealant will form a hard surface, trapping water inside and making the area susceptible to leaks, whereas a repellent will still enable the porous bricks to breathe and move the way they are supposed to.

Applying the sealant is as easy as the cleaning step - all you’ll need is a pump sprayer with a fan nozzle. The product that you use will give instructions for the amount that you’ll need, so just go by your surface area and the directions provided. I always suggest starting from the base and working your way up, applying heavy coats using a side to side spraying motion. Unlike painting, it’s a good idea to apply a “flood coat” first and then top it up with a second coat within just a few minutes to even it out. For areas that feel oversaturated, have a soft bristle brush handy. Also, be sure you’re working in good weather - while waterproofing products do dry quickly, you’ll want to give them a good six hours in the sun to fully set before a bout of bad weather.

Finally, just like any job on a roof, please make sure you’re comfortable with heights and working from a ladder before you tackle this project. The last thing we want us a trip to the emergency room from a nasty fall. When in doubt, always hire a pro to tackle the job.

Bob O'Donnell is the owner of O'Donnell Bros, Inc., a Bristol-based home improvement company established in 1975. Email your questions for Bob to info@odonnellbros.com with the subject line “Ask the Pro”. All questions may be considered for publication. To contact Bob for your remodeling needs, call O'Donnell Bros, Inc. at (860) 589-5155 or visit www.odonnellbros.com. Advice is for guidance only.

Don't Be the Coldest House on the Block This Winter

Chelsea O'Donnell

I love winter. You’ll often find me skiing, playing ice hockey on one of our local ponds, and hiking in the snow over the next several months. But for all the fun that winter has to offer, one thing I can’t stand is coming home to a cold house.

During this week’s delayed winter weather, I got tons of calls from people all over town asking what can be done about their drafty, cold homes. They are also concerned why their houses are so hard to heat and their energy bills are through the roof. The answer to their question is easy because the problem can be found in three-quarters of the homes I work on in our area. The culprit of cold is a major lack of insulation.

Insulation is a cotton-looking fiberglass material bundled in pink or yellow colored rolls that you may have seen in your attic or behind the wall of new construction. It also comes in what we call “loose fill” which can be blown into harder to reach areas. Contractors use insulation between walls, in attics and in basements to retain heat in the house in the winter and keep the heat from getting into the house in the summer. The amount of insulation needed for a home is measured by its R-Value, which equates to its resistance to heat moving through it. Simply put, the higher the R-Value, the better the insulating properties.

Back 50 years ago when many of the homes in Central Connecticut areas were built, R-Value wasn’t a popular unit of measurement. Instead, the industry kept it simple and measured insulation by its thickness in inches. When a home was constructed, the contractor would put about three inches of insulation into the attic, if any was used at all. Three inches of insulation would give that homeowner an R-Value of about R-10. According to EnergyStar, homes in our area should be fitted with insulation that measures between R-49 and R-60. So if you have a home from the 1950s or early and have never upgraded your insulation, your home is definitely not equipped to handle our harsh Connecticut winters.

Do yourself a favor and take a trip up into your attic. Chances are your insulation isn’t up to scratch and it’s probably time for an upgrade. As a general guideline, insulation with an R-Value of between R-49 and R-60 will sit at between 19 and 22 inches thick when settled. How does your insulation stack up to that? If it doesn’t, you don’t have to worry - a contractor can install it in less than one day and insulation has one of the highest resale values of any home improvement job.

With any proper insulation job also comes ventilation, which allows air to move through the attic, preventing over and under heating and reducing the risk of mold buildup. We will talk about that in detail next week.

Bob O'Donnell is the owner of O'Donnell Bros, Inc., a Bristol-based home improvement company established in 1975. Email your questions for Bob to info@odonnellbros.com with the subject line “Ask the Pro”. All questions may be considered for publication. To contact Bob for your remodeling needs, call O'Donnell Bros, Inc. at (860) 589-5155 or visit www.odonnellbros.com. Advice is for guidance only.