Contact Us

Please feel free to get in touch to ask a question, schedule an appointment or give us your feedback. We look forward to hearing from you. 

17 Divinity St
Bristol, CT, 06010
United States

8605895155

Since 1975, O'Donnell Bros has been providing greater Bristol and Central Connecticut with residential and commercial remodeling solutions. We specialize in roofing, siding, windows, doors, gutters, downspouts and so much more. We look forward to helping you with all your remodeling needs. 

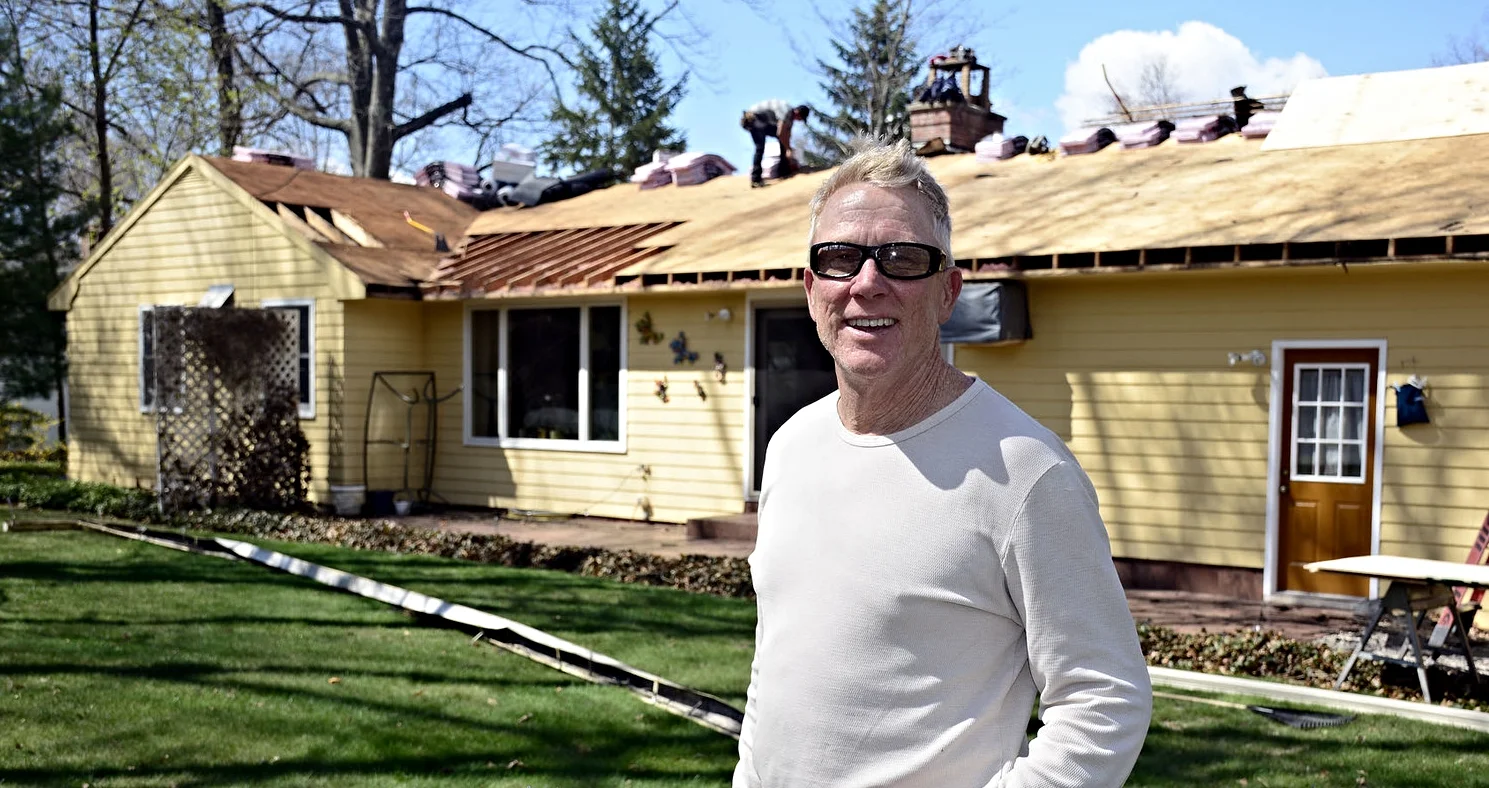
HomeImprovement-PT-050114_9032 (1).jpg

Articles

O'Donnell Bros President, Bob O'Donnell, is a regular contributor to The Bristol Press. Read his home improvement articles here.


Build Your Own Backyard Fire Pit This Weekend

Chelsea O'Donnell

Last week we talked about the different ways you can enjoy an ambient fire in your own backyard. While there are many options for a portable, moveable (and tippable!) pit, many of us like the idea of a permanent area to enjoy evenings gathered around the warm glow of an open fire. So today, I’ll be showing you how to build a simple backyard pit that you can enjoy for the rest of the summer and right through the autumn too.

First things first, always check your town’s website or fire department for their rules on open fires. Some special requirements might include fire size, setback distances, or general fire permits, so make the call before you get started.

Next, choose a place with plenty of room that’s well away from your home and any low hanging trees, bushes, or vegetation. This is a fire we are talking about, so safety has to be of the utmost importance. Also, if you have to dig, make sure you steer clear of any utility lines or in-ground sprinklers.

Once you have your spot, measure out the space for your pit. You’ll want to have 36-44 inches for the inside where the fire will burn, plus an additional 12 inches around for your stone or brick wall. Put a few chairs about 24 inches from where your outer rim will be to ensure that people can fit comfortably without burning their knees. Setting up your space is important - you want to make sure you have enough room for your family to enjoy the fire without the set up feeling too close or crowded.

Once your setup is ready, dig a 12-inch deep hole into the ground. If you’re building your pit on a patio, you’ll want to remove the original pavers. Then add a layer of sand and tamp it down so it’s level. Alternatively, you can also add a layer of additional pavers on top of the current base and fill in the cracks and crevices with sand. It’s important to have this base for your fire to ensure that you protect the ground or your current patio from heat damage.

Next, it’s time to lay your ring. Most home improvement stores carry pre-made fire pit “kits” which include the stone that you’ll need for the job. Alternatively, you can find rounded pavers to purchase at a simple per unit price, just be sure that they are heat resistant. I highly recommend going with a height of at least 18 inches or roughly knee height to ensure that the fire is properly contained while still giving it room to throw heat.

If you’re going with a DIY option, the easier way to do it is to lay the pavers subway style, with each layer centered over the seam of the previous layer to give it extra stability. It also gives the pit a higher-end look. Depending on the size of your pavers, three layers of stone should do the trick. If you’re using brick, you’ll probably need to double that amount.

And that’s it! Of course, you can choose to create a much more lavish design, but if you’re going for a simpler look, it can be built in just a few hours and will be ready to be enjoyed that very day. I can’t wait to see what you come up with. Send me a message on Facebook at facebook.com/odonnellbros to share your ideas.

Bob O’Donnell is the owner of O’Donnell Bros. Inc., a Bristol-based home improvement company established in 1975. Email your questions for Bob to info@odonnellbros.com with the subject line “Ask the Pro.” All questions may be considered for publication. To contact Bob for your remodeling needs, call O’Donnell Bros. Inc. at (860) 589-5155 or visit http://www.odonnellbros.com. Advice is for guidance only.
Now is a Great Time to Repair or Replace That Driveway

Chelsea O'Donnell

A driveway is the entry point into almost every home, but a cracked surface can instantly date and devalue the property, especially if you’re a homeowner who is looking to sell in the near future. Depending on the condition of the driveway, patching, resurfacing or replacing the asphalt are all options to give your home a freshening up that will increase its resale value. Let’s take a look at the best ways to tackle this project.

If you’re wondering why your driveway has cracked or crumbled in the first place, the most likely culprits are sun and rain. The strong rays from the sun break down the surface of the asphalt while water from rain, ice, and snow run underneath, eroding the gravel which creates cracks and areas that begin to cave in. A driveway should last for at least 15 years depending on its environment, but as time passes and you start to see signs of wear, you’ll know that you’re ready for an upgrade.

If cracking is your problem, have a look at how thick the cracks are. If they are less than a quarter inch wide, you can use a liquid crack filler to fix them. First, use a screwdriver to remove any debris from the crack and then use a powerful stream of water from a hose or pressure washer ensure the inside of the crack is clean. Allow the area to dry completely. Once it’s dry, shake your crack filler vigorously to ensure all the ingredients are combined. Fill the crack flush to the rest of the pavement and then smooth it out if necessary. Allow the filler to dry, noting if the mixture sinks into the pavement and requires a second coat. Wait at least 24 hours before applying a second coat if necessary and then wait for an additional 24 to 48 hours before walking or driving on the repaired pavement.

If you have larger cracks, divots, or places in the driveway that have caved in slightly, you may need to resurface it. This is cheaper than replacing the entire driveway and can be a very effective alternative if the damage is not too severe. Concrete resurfacer can be purchased at any home improvement store and should be applied according to the instructions on the bag. Remember, resurfacing means that you won’t be able to use your driveway for a few days while it dries, so don’t take on this project the same weekend that you’re hosting a picnic or family party.

Finally, if you have large sinkholes or “birdbaths”, it’s likely that the foundation and drainage system underneath the asphalt or concrete is not working properly, so patching and resurfacing are only going to work temporarily. If this is the case, you’ll likely need to replace the driveway in its entirety in order to truly fix the problem. While this is the most arduous of the three options, it will also last the longest. A new driveway under good conditions should have a lifespan of 20 to 25 years and new pavement will give your home fantastic curb appeal. Again it’s important to note that installing a new driveway is a two-step process which includes laying the gravel for drainage and setting the pavement on top. Putting down the gravel sometimes means waiting two weeks for it to settle, so before you take on this kind of work, be aware of the time that it takes to complete.

Bob O’Donnell is the owner of O’Donnell Bros. Inc., a Bristol-based home improvement company established in 1975. Email your questions for Bob to info@odonnellbros.com with the subject line “Ask the Pro.” All questions may be considered for publication. To contact Bob for your remodeling needs, call O’Donnell Bros. Inc. at (860) 589-5155 or visit http://www.odonnellbros.com. Advice is for guidance only.

Show Your Stone Patio Some Love This Summer

Chelsea O'Donnell

After seeing last week’s column about deck resealing, a reader reached out with an excellent question. She said, “Hi Bob, I was very interested in your column about refinishing a wood deck and I was wondering if you could do something similar with a patio. I just had stone laid and it looks great, but I’d like to know more about how to protect it so it continues to look beautiful. Do you have any tips? Thanks. Catherine.”

I’m so glad that Catherine reached out because people often choose stone over wood, even though it’s more expensive. I myself just recently replaced my wood deck for a stone patio because it’s easier to take care of and as long as I keep it protected, it is going to last and last. That being said, there are a few things that can make patios age faster and there are some maintenance tips that every homeowner should be aware of.

The one thing that makes patios a bit riskier than a wood deck is that they are laid right on the ground instead of on a platform, which means that any shifts or movement in the earth can cause cracks and splits between the joints or the stone itself. Additionally, weeds are unbelievably strong little pests and after time, they always find a way to creep through the joints. Brick patios are especially susceptible to weed infiltration and ants love making their homes in the gaps too. Luckily, sealing a stone patio on a regular basis is a surefire way of keeping both pests and weak points at bay.

You can start with a thorough cleaning, not unlike the process we discussed for a wood deck. Begin by removing any debris and loose dirt and dust with a firm broom, and then fire up the pressure washer. Stone can be stained from rusty patio furniture so be sure to pretreat and scrub down any marks before giving it a good power wash. Leave it to dry for at least 24 hours.

Next, inspect the joints closely. This is a tougher job for bricks than larger stone, but it’s important to repair any erosion or loose pieces before you apply your sealant. Otherwise, the stone will become uneven and the gaps will invite weeds and ants to make their homes inside. You can use sand to fill any spaces that have deteriorated over time.

Now you’re ready to seal! Each product is different so you’ll want to pay close attention, especially when it comes to finishes. I always look for a high quality, water-based sealant that I can spray on easily. I recommend applying two thin coats and waiting 24 hours between applications to ensure you achieve an even finish. Wait another 24-48 hours after the final coat to put patio furniture, grills, and any other equipment back on the surface.

As for you Catherine, take a load off! Since your patio is new, you can kick back and relax for a year before worrying about adding an extra protective layer to the stone.

Bob O’Donnell is the owner of O’Donnell Bros. Inc., a Bristol-based home improvement company established in 1975. Email your questions for Bob to info@odonnellbros.com with the subject line “Ask the Pro.” All questions may be considered for publication. To contact Bob for your remodeling needs, call O’Donnell Bros. Inc. at (860) 589-5155 or visit http://www.odonnellbros.com. Advice is for guidance only.